Mac ‘n’ Cheese à la John–Ray
Serves 8
Twenty-sixteen is proving to be a year of considerable life events and change and, as a result, postings on the blog have been far less frequent than I would have preferred. It also means that, seasonally speaking, I’m a little far behind because, while I have not actually posted many recipes, we photographed through the winter and spring with the intent to do so. I’ll bank a few of those recipes for next year’s colder months, but some — like today’s Mac n’ Cheese recipe, inspired by my dad, John-Ray – provide comfort and nostalgia no matter what time of year they are made.
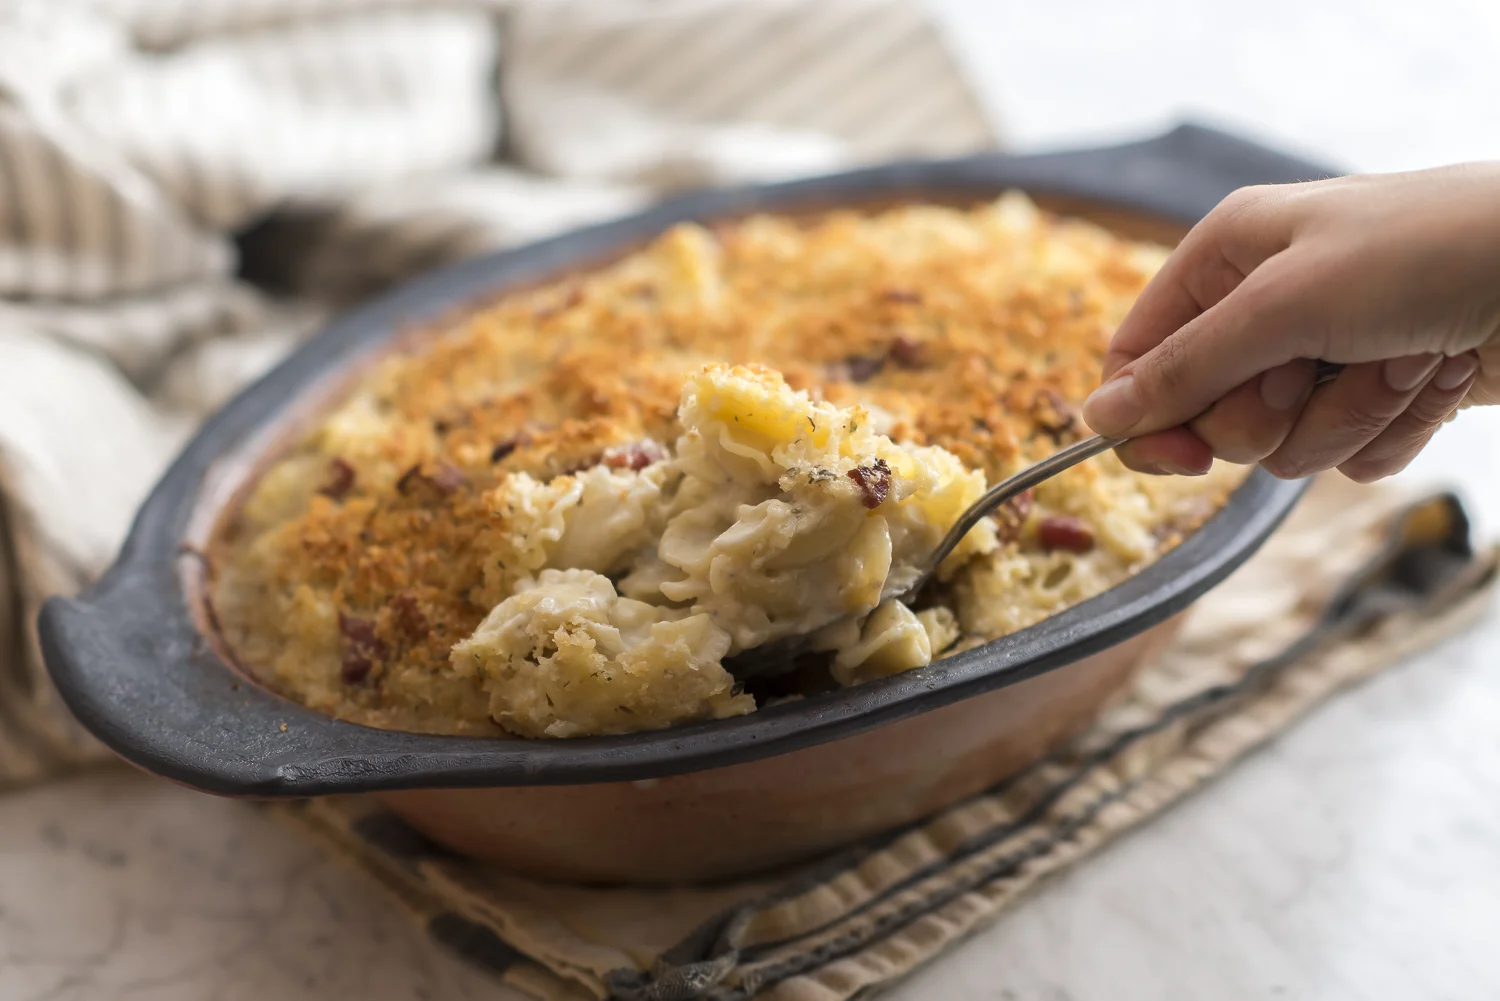
Growing up my mom made dinner nine times out of ten, but my dad had a few classics in his repertoire not to be underestimated. To this day his macaroni and cheese stands out as his most famous contribution to the culinary world. The secret? Cheese. Copious amounts of cheese. This may seem incredibly obvious, but far too often I find that mac ‘n’ cheese recipes fail to deliver because they lack that quintessential cheese zing; and when baked they can often end up losing the gooey, creamy sauce factor, failing to deliver on expectations. Unapologetically, this recipe is all about embracing the cheese because if you’re going to make this classic comfort dish you may as well go all out. When made with real, quality ingredients served alongside a stand up bottle of wine, and a healthy green veg, no one can tell you that this is not a balanced meal. Particularly when enjoyed with the important people in your life.
The recipe below is made from scratch, and baked. The original recipe (I say recipe loosely) was made using a box of President’s Choice Deluxe White Cheddar Macaroni and Cheese, and was served straight up, unbaked. Giving credit where due, for a boxed macaroni product this is pretty flavourful, and free of orange dyes. We’d generally follow box instructions and then add every kind of cheese in our fridge which, being a cheese-loving family, was a lot. One of those cheeses though (and I stick by this today) always had to be a blue, or as we affectionately referred to it in our house: stinky cheese. Trust me, even if you think you don’t like blue cheese it is absolutely essential to bringing out the sharp cheese flavour in the completed dish. And the stinkier, the better.
You are welcome to stop reading here and go ahead with the above described box version – it’s a great weeknight quick fix, especially if you’ve got kids – but if you’ve never made Mac ’n’ Cheese from scratch I’d encourage you to try it. You might find yourself wondering why it was ever put in a box in the first place. The package instructions require you to add milk and butter, and since you’re adding more cheese anyway, the only thing missing is flour which helps form the thickening basis of many classic sauces — a roux.
I first learned to make a roux from my mom, while preparing a cheese sauce for broccoli (yes, cheese was essentially a food group unto its own in our house). A basic rule of thumb for making a roux is that it’s one part butter to two parts flour, which can then be thickened with about four times as much liquid – in this case, milk. You can then flavour the sauce to your liking, such as using dried mustard and herbs indicated in the instructions below.
I recently had the opportunity to make this dish and actually share it with my dad and sister, and I can’t even begin to think of what year we last did that, but I’d wager to guess it was sometime in the late 90s. My sister and I have both been on the West Coast for about a decade now, so we see our parents relatively infrequently. Enter the aforementioned life changing event #1: my parents recently sold their house in Ontario with plans to move west, so in late March my dad visited for a few weeks to look for a place. At which time we were able to enjoy this meal together, and visit for the first time in over a year. Suiting, as I type this my dad is somewhere in the prairies making the cross-Canada move out, and as of next week will officially be a resident of BC, with my mom to join later this summer. I look forward to more frequent meals spent with them, and once again unlimited access to my mom’s garden.
Ingredients
¼ cup butter
½ cup sweet onion, chopped
3-4 cloves garlic, chopped
½ cup all-purpose flour
4 cups milk (not skim, ideally 2%)
A good handful of fresh thyme sprigs, or 1 tsp dried
½ tsp dried mustard (or 1 tsp Dijon)
A few dashes of Worcestershire sauce
¼ tsp (approx.) fresh grated nutmeg
salt and fresh ground pepper to taste
1 lb cheese (or a little more)*
1 lb dried macaroni (or other short pasta that will capture sauce)
4 slices quality bacon, diced and fried until crispy (optional)
For the topping
½ cup butter, melted
1 cup fresh breadcrumbs (a great way to use up bread ends, or stale bread)
¼ cup fresh grated Parmesan cheese
2 tbsp Italian parsley, freshly chopped
2 tsp fresh thyme, or ½ tsp dried *For the cheese you can use any combination you like. In general, I end up doing a bit more than a pound, divided roughly as: 6 oz sharp cheddar, jack, Gouda or combination thereof; 4 oz blue (your choice, a classic Danish blue or stilton works well); 6 oz Gruyere or emmental (or other good melting cheese); 4-6 oz fresh goat cheese (chévre). This is a great way to use up small odds and ends, if you keep as much cheese around as we do…
Method
Melt butter in a large pot over medium heat. Add onion and cook 3-5 minutes, stirring occasionally, until translucent. Stir in garlic and allow to simmer another minute or so before finally stirring in the flour. At this point you will end up with a thick, glutinous paste.
Whisk in about one cup of milk to break up any large clumps in the flour mixture before adding the remaining milk. Toss in the thyme (if using fresh, keep on the sprigs and tie together with a small piece of kitchen string). Whisk until the mixture comes to a rolling boil and begins to thicken, about 15 minutes. Depending on your stove you can turn the heat up to a medium high to speed up this process, but be careful as that the sugars in the milk can cause it to burn quickly.
Once the mixture has boiled and begun to thicken stir in the dried mustard, Worcestershire, nutmeg, and the cheese. Switch from a whisk to wooden spoon or spatula at this point to avoid losing precious cheese to your whisk. Stir until cheese has melted fully taste and adjust seasoning with salt and pepper to taste and remove bundle of thyme sprigs. Set aside.
Meanwhile, pre heat oven to 350°F and bring a large pot of salted water to a boil. Cook pasta according to package directions to el dente. Drain well and stir into the cheese sauce mixture, folding in bacon, if using. Pour into a large casserole dish (13 x 9 – inch, or similar). At this stage it may still seem a bit runny (see photos), but the noodles will absorb some of the moisture as it cooks.
In a small bowl, mix together the top ingredients with your hands and sprinkle evenly on the top of the pasta. Bake, covered, for 10 minutes, and an additional 10-15 uncovered, until bubbly and golden brown.
Serve along with a tomato chutney or homemade ketchup.

